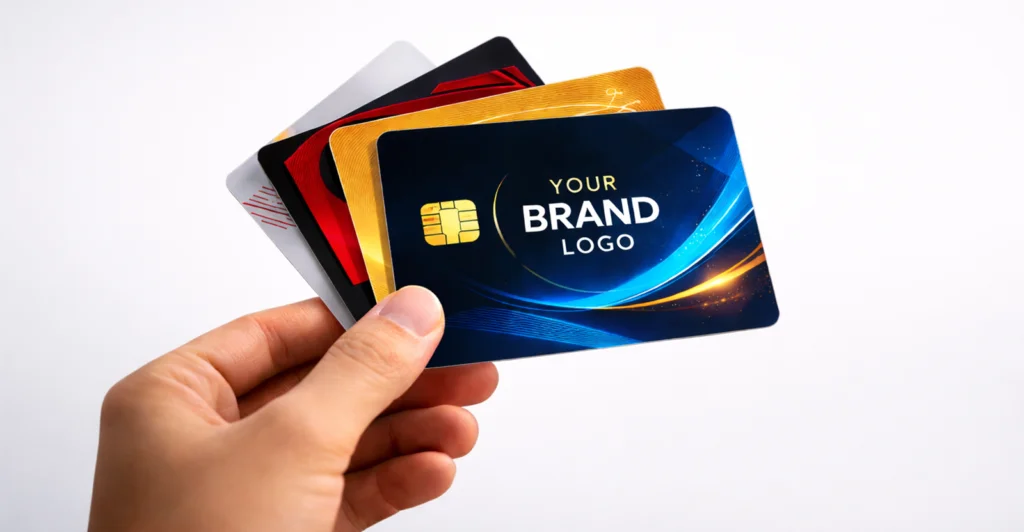
A plastic card spends most of its life in a wallet, a purse or a lanyard, competing with a dozen others for attention. When a customer reaches for it, the design has a moment to say who you are and what the card does. Get that right, and a gift card, loyalty card or membership card becomes a small, durable billboard for your brand.
The good news is that standing out rarely comes from adding more. It comes from a few clear decisions made early. Here is how to design custom plastic cards that look sharp, work properly and print without surprises.
Start With the Card’s Purpose
Before choosing colours or fonts, decide what the card has to do. A gift card needs a clear brand presence and room for a barcode or magnetic stripe. A membership card may need a member name, number and expiry date. A discount card has to make the offer obvious at a glance.
Write down every piece of information the card must carry, then rank it. Your logo and the card’s main message belong at the top of the list. Fine print, terms and contact details can usually move to the back. This prevents a common problem: a crowded front no one can read quickly.
Choose the Right Material and Finish
The surface you print on shapes how the design feels in hand. Standard white plastic gives colours the truest base and suits most cards. Transparent cards look modern and work well for minimalist designs, since the empty space becomes part of the look. Frosted cards have a soft, low-shine surface that reads as premium. Rigid hard plastic suits cards that will be handled every day.
Thickness matters too. A standard card is 30 mil thick, the same feel as a bank card. If you are unsure which option fits, Perfect Plastic Cards can send a sample so you can compare finishes before ordering. Our guide to clear vs. frosted plastic business cards compares two popular options.
Use Colour and Contrast With Intention
Colour is often the first thing people notice, so lead with your brand palette rather than inventing a new one. A card that matches your signage, packaging and website is easier to recognize in a crowded wallet.
Contrast is what keeps a card readable. Dark text on a light background, or the reverse, keeps names and numbers legible under store lighting and through a phone camera. Avoid placing small text over busy photos or gradients.
Remember that screens display colour in RGB, while printers use CMYK inks. Bright on-screen shades, especially vivid blues and greens, can print slightly duller. If an exact brand colour matters, flag it so it can be checked at the proof stage.
Keep Typography and Layout Clean
A standard CR80 card measures just 85.6 by 54 mm (3.375 by 2.125 inches), so every element competes for space. Limit yourself to one or two typefaces, and keep body text at a size people can read without squinting. Thin, decorative fonts often break down at small sizes, so save them for a short headline if you use them at all.
Give the logo room to breathe. On custom plastic cards, white space guides the eye to what matters. Align elements to a simple grid, keep a consistent margin on all sides, and resist filling every corner. A clean layout looks more confident than a busy one.
Add Features That Earn Their Place
Functional features can make a card more useful, but each one needs space and planning. Common options include:
- Barcodes or QR codes for scanning at checkout or linking to a web page
- Magnetic stripes for point-of-sale systems and gift card balances
- Variable data such as member names and sequential numbers
- Embossing and gold or silver foil for a raised or metallic accent
Plan these early. A magnetic stripe usually runs across the back, so keep artwork and text clear of that band. Barcodes need a quiet, light area around them to scan reliably. If your cards will carry personal details, share those requirements before production so the team can confirm the right setup.
Prepare Print-Ready Artwork
Good design can still print poorly if the file is not set up correctly. Before you send artwork for custom plastic card printing, check these basics:
- Build the file at CR80 size with 1/8 inch (about 3 mm) of bleed on every side.
- Keep text and logos the same distance inside the trim line.
- Use images at 300 DPI at their final size, and vector logos where possible.
- Set the colour mode to CMYK and outline or embed fonts.
- Export a high-resolution PDF.
Specifications vary by card type, so confirm them before you finalize, then review the digital proof carefully for typos or shifted elements.
Bring Your Design to Life
Cards that stand out start with a clear purpose, a disciplined layout and clean print files. If you are planning custom plastic card printing for your Canadian business, request a quote or a sample from Perfect Plastic Cards, and our team will review your artwork before production.